
How to Build a DIY Backyard Bird Feeder from Recycled Materials

By Robert Hale · Senior Editor
Published January 1, 2026 · Last reviewed May 12, 2026
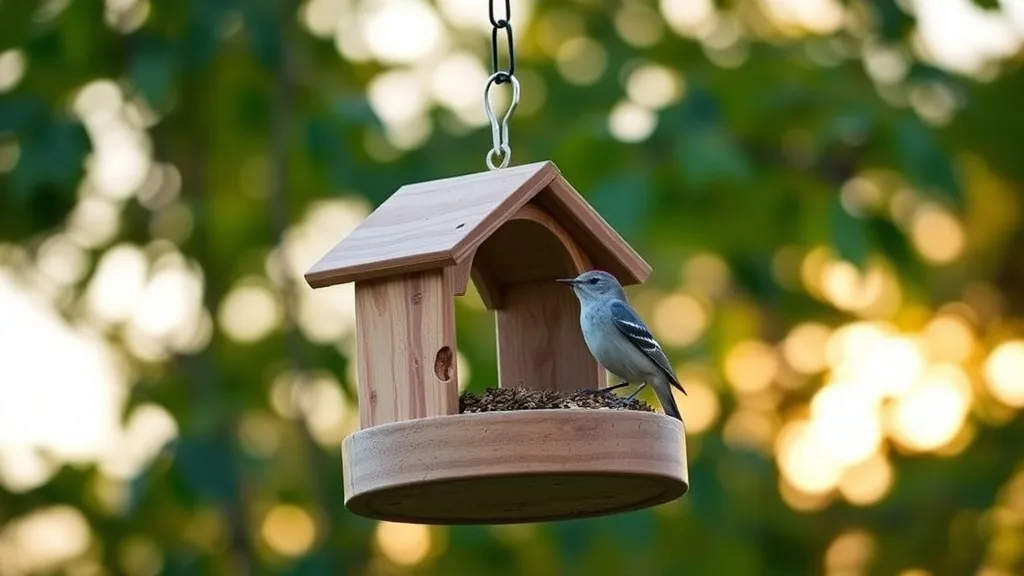
Building a backyard bird feeder can be a rewarding way to attract and observe wild birds right outside your window. But if you’re like many birders, cost and sustainability are concerns, and store-bought feeders may feel impersonal or expensive. The good news is you don’t need to spend much—or any—money to create a functional, safe bird feeder. Using recycled materials, you can build a durable, effective feeder and contribute to environmental conservation at the same time.
How to Build a DIY Backyard Bird Feeder from Recycled Materials
Step 1: Gather Suitable Recycled Materials
Start with a selection of materials that are durable, weather-resistant, and non-toxic since they will be exposed to the elements and wildlife. Common options include:
- Plastic bottles (1 or 2 liters)
- Tin cans (with edges smoothed)
- Wood scraps (untreated is best)
- Glass jars (thick and sturdy)
- Old pallets or crates
- Wire hangers or string for hanging
Important: Avoid materials treated with chemicals or paint that could leach harmful substances. Make sure all materials are clean to prevent mold or bacteria.
Step 2: Choose a Design Suitable for Local Birds
Consider the types of birds in your region to choose the appropriate feeder style:
- Tube feeders: Great for small songbirds like finches and chickadees.
- Platform feeders: Attract a broad range but are more exposed to weather and predators.
- Suet feeders: For woodpeckers and insect-eaters.
- Thistle feeders: For finches that eat smaller seeds.
For a basic DIY project, plastic bottles or tin cans can easily be turned into tube or platform feeders.
Step 3: Prepare Your Materials
If using a plastic bottle or tin can:
- Remove labels and thoroughly clean.
- Puncture small feeding holes along the bottle or sides of the can.
- Add perches near feeding holes (e.g., wooden dowels or sturdy sticks).
- Smooth all edges with sandpaper to prevent injuries.
For wooden feeders, assemble a small box or tray with slats or holes for drainage and ventilation. Old crates or pallets can be repurposed for this with minimal woodworking.
Step 4: Assemble the Feeder
Using non-toxic glue, screws, or nails, securely fix the parts together. For hanging feeders, attach wire or string loops firmly at the top.
Make sure the feeder:
- Is stable when hung or mounted.
- Has no sharp edges.
- Allows birds easy access to seeds.
- Drains water to keep seeds dry.
A well-assembled feeder can last multiple seasons with proper maintenance.
Step 5: Position Your Feeder Wisely
Place your feeder in a spot that enables good birdwatching but also provides safety for birds:
- Ideally 5-10 feet from shrubs or trees for quick cover from predators.
- Avoid window collisions by positioning feeders away from reflective glass.
- Consider sun exposure to prevent seeds from spoiling too fast.
- Ensure easy access for refill and cleaning.
Step 6: Use Ethical Feeding Practices
- Avoid overfilling to reduce waste and mold.
- Clean feeders regularly (biweekly or monthly) with a mild bleach solution.
- Do not use playback or other disruptive methods to lure birds.
- Refill only as needed to discourage dependency.
See also: 30. How Much Does It Cost to Feed Backyard Birds for a Year? (Real Numbers,
Material Comparison Table for DIY Bird Feeders
| Material | Durability | Ease of Cleaning | Weather Resistance | Safety for Birds | Best Feeder Style | Typical Lifespan |
|---|---|---|---|---|---|---|
| Plastic bottle | Moderate | Easy | Moderate | Good (smooth edges crucial) | Tube, platform | 1-2 seasons |
| Tin can | High | Moderate | High | Needs smooth edges | Tube, platform | Multiple seasons |
| Wood scraps | High (if untreated) | Moderate | Moderate (subject to rot) | Excellent | Platform, suet | Multiple seasons (with waterproofing) |
| Glass jar | Very High | Very easy | Very High | Very safe | Tube, hopper | Many seasons |
| Pallets/crates | High | Moderate | Moderate | Excellent | Platform | Multiple seasons |
Tips for Success and Common Pitfalls
-
Pitfall: Using treated wood or toxic paint that harms birds.
Tip: Always use untreated wood and natural finishes. -
Pitfall: Feeding unhealthy or inappropriate seed mixes.
Tip: Research local birds’ preferred seeds; black oil sunflower seed is a safe general choice. -
Pitfall: Positioning feeders without shelter.
Tip: Place feeders near shrubs or branches for cover. -
Pitfall: Using plastic feeders with sharp edges.
Tip: Sand carefully and test with gloves. -
Pitfall: Poor drainage leads to soggy seeds and mold.
Tip: Drill holes or gaps for water runoff.
Frequently Asked Questions
Q: Can I use household plastics like milk jugs or soda bottles for bird feeders?
A: Yes, as long as they are clean, free from cracks, and edges are smoothed. Thicker plastics are more durable.
Q: How often should I clean my DIY bird feeder?
A: Clean at least every two weeks, and immediately if you notice mold, seed clumping, or sick birds.
Q: What seeds work best in homemade feeders?
A: Black oil sunflower seeds attract many species and are favored for their nutrition and easy shell cracking. Avoid salted or flavored seeds.
Creating a backyard bird feeder from recycled materials combines sustainability, creativity, and ethical birding. By following these steps carefully and considering your local bird community’s needs, you’ll enjoy close-up birdwatching without hurting your wallet or the environment. Happy birding!


