
Robert Hale · Founder & Field Editor, BirdLedger
Former naturalist guide and lifelong birder from Vermont. Robert has spent two decades in the field—from boreal bogs to Gulf Coast shorelines—and built BirdLedger to help birders make smarter gear decisions.
How To Setup A Bird Photography Blind
By Robert Hale · Founder & Field Editor, BirdLedger
Published May 28, 2026
BirdLedger is reader-supported. When you buy through links on our site, we may earn an affiliate commission. This helps keep our testing independent and our recommendations free.
How To Setup A Bird Photography Blind
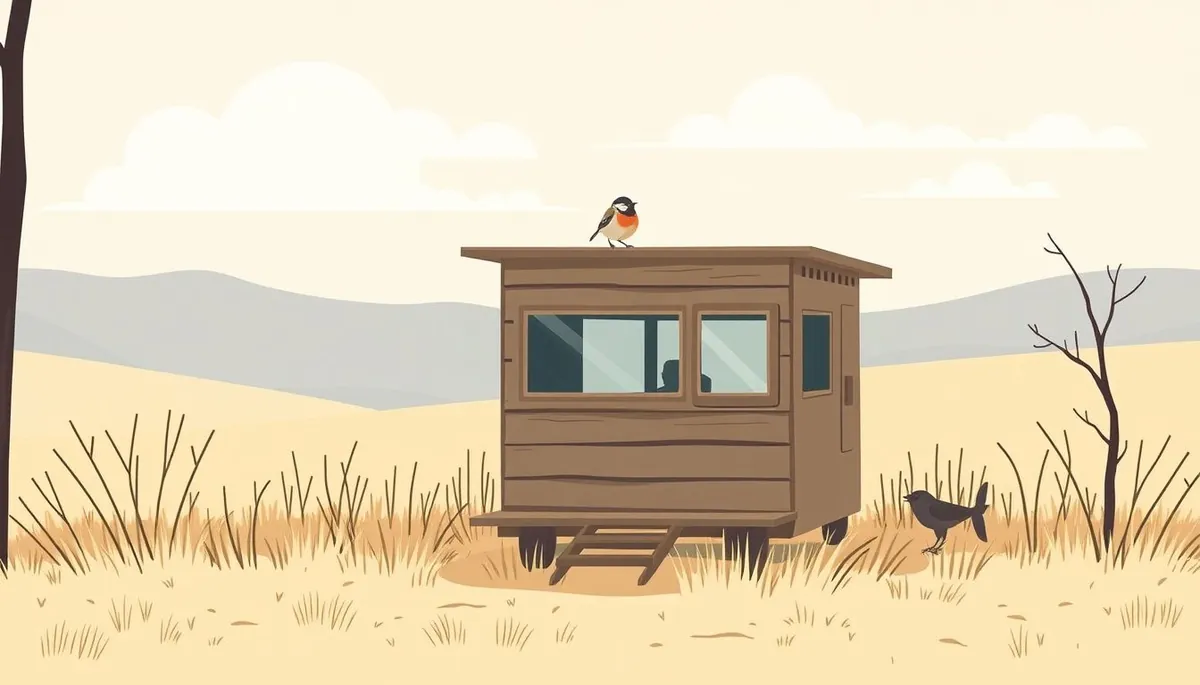
Photographing birds in their natural habitat can be incredibly rewarding, but it requires patience, skill, and often, a good bird photography blind. A blind allows you to get close to your subjects without disturbing them, resulting in more natural and intimate photographs. But setting up a bird photography blind effectively can be tricky. This guide will walk you through the process, from choosing the right location to camouflaging your blind for optimal results.
Why Use a Bird Photography Blind?
Before diving into the how-to, let’s quickly cover why you might want to use a blind in the first place.
- Minimize Disturbance: Birds are easily spooked. A blind provides concealment, allowing you to observe and photograph them without altering their behavior.
- Get Closer: A blind lets you position yourself closer to your subjects than you could otherwise, resulting in better compositions and sharper details.
- Patience is Key, But Comfort Helps: Let’s be honest, waiting for the perfect shot can take hours. A comfortable blind (or at least a comfortable chair inside the blind) makes the process far more enjoyable.
- Ethical Considerations: Minimizing disturbance is not just about getting better photos; it’s about respecting the wildlife you’re photographing. A blind is a responsible tool.
Choosing the Right Location
The location of your blind is arguably the most important factor in its success. Here’s what to consider:
Identify Bird Activity
Scout the area beforehand. Look for signs of bird activity, such as:
- Feeding areas: Near feeders (consider what type of feeder – a tube feeder vs platform feeder vs hopper can make a difference), berry bushes, or seed-bearing plants.
- Water sources: Birdbaths (do birdbaths actually attract more birds?), streams, or ponds.
- Nesting sites: Observe where birds are building nests or raising young (but be extremely careful not to disturb nesting birds).
- Perches: Favorite branches or posts where birds like to land.
Consider the Light
- Morning vs. Afternoon: Think about the direction of the light at different times of day. Generally, morning light is softer and warmer, while afternoon light can be harsh.
- Sun Angle: Position your blind so that the sun is behind you, illuminating your subject. Avoid shooting directly into the sun, which can create silhouettes and harsh shadows. A slightly angled position is often best.
- Cloud Cover: Overcast days can provide even, diffused light, which is ideal for capturing details.
Blend with the Environment
- Natural Cover: Choose a location where your blind can blend into the surrounding vegetation. Look for trees, bushes, or tall grass that can provide natural camouflage.
- Background: Consider the background of your photos. Avoid distracting elements like roads, buildings, or brightly colored objects. A natural, uncluttered background will help your subject stand out.
- Distance: Determine the optimal distance from your subject based on your lens and desired composition. Too far, and you’ll lose detail. Too close, and you risk spooking the birds.
Setting Up Your Blind
Now that you’ve chosen your location, it’s time to set up your blind. Here’s a step-by-step guide:
Choose Your Blind Type
There are several types of bird photography blinds available, each with its own advantages and disadvantages.
- Pop-Up Blinds: These are the most common type of blind. They are lightweight, portable, and easy to set up. Look for blinds with shoot-through mesh windows and a camouflage pattern that matches your environment.
- Frame Blinds: More robust than pop-up blinds, frame blinds are built around a sturdy frame. They offer more space and stability but are also heavier and more difficult to transport.
- Natural Blinds: These are constructed from natural materials like branches, leaves, and grass. They blend seamlessly into the environment but require more time and effort to build. You can even add specific branches to attract specific birds, like how to attract woodpeckers.
- Vehicle Blinds: For situations where you can photograph from your car, a vehicle blind can be a good option. These attach to your car window and provide concealment while allowing you to shoot from a comfortable position.
Set Up Slowly and Quietly
- Minimize Noise: Avoid making loud noises or sudden movements that could scare away the birds.
- Gradual Introduction: If possible, set up the blind a few days before you plan to use it. This will give the birds time to get used to its presence. If that’s not possible, try setting it up in stages – partially open one day, fully open the next.
- Secure the Blind: Make sure the blind is securely anchored to the ground, especially in windy conditions. Use stakes or ropes to prevent it from blowing away.
Camouflage Your Blind
- Natural Materials: Add branches, leaves, and grass to the outside of the blind to help it blend in with the surroundings.
- Break Up the Outline: Use camouflage netting or burlap to break up the sharp edges of the blind.
- Consider the Season: Adjust your camouflage to match the current season. Use green vegetation in the spring and summer, and brown and yellow leaves in the fall.
- Low Profile: Keep the blind as low to the ground as possible to minimize its visibility.
Interior Considerations
- Comfort: Bring a comfortable chair or stool to sit on. You may be spending several hours in the blind, so comfort is essential.
- Tripod: Use a sturdy tripod to support your camera and lens. This will help you get sharp, stable images.
- Lens Support: Consider using a lens support to reduce camera shake and improve image quality, especially with long telephoto lenses.
- Essentials: Bring water, snacks, and any other essentials you may need. A small notebook and pen can be useful for recording observations.
Inside the Blind: Patience and Technique
Once your blind is set up, the real work begins. Here are some tips for photographing birds from inside the blind:
Minimize Movement
- Slow and Deliberate: Move slowly and deliberately to avoid startling the birds.
- Stay Hidden: Keep your camera and lens inside the blind as much as possible. Avoid making sudden movements that could be seen through the windows.
- Dark Clothing: Wear dark clothing to minimize your visibility inside the blind.
Know Your Camera Settings
- Aperture: Use a wide aperture (e.g., f/2.8 or f/4) to create a shallow depth of field and blur the background.
- Shutter Speed: Use a fast shutter speed (e.g., 1/500th of a second or faster) to freeze the motion of the birds.
- ISO: Adjust your ISO to maintain a proper exposure. Keep it as low as possible to minimize noise.
- Focus Mode: Use continuous autofocus (AF-C) to track moving birds.
- Drive Mode: Use continuous high-speed shooting to capture a burst of images.
Practice Patience
- Be Prepared to Wait: Bird photography requires patience. Be prepared to wait for hours for the right moment.
- Observe and Learn: Use the time to observe the birds and learn their behavior. This will help you anticipate their movements and capture better photos.
- Don’t Give Up: Even if you don’t get the perfect shot on your first attempt, don’t give up. Keep practicing and experimenting, and you’ll eventually get the results you’re looking for.
Ethical Considerations
- Respect the Birds: Never do anything that could harm or disturb the birds.
- Avoid Nesting Sites: Be especially careful when photographing near nesting sites. Avoid getting too close or making any noise that could stress the birds.
- Leave No Trace: Pack out everything you pack in, and leave the area as you found it.
Post-Photography: Blind Removal
When you’re finished photographing, remove your blind carefully and quietly.
- Gradual Removal: If possible, remove the blind in stages over a few days. This will give the birds time to adjust to its absence.
- Leave No Trace: Remove all traces of your presence, including any camouflage materials or stakes.
- Monitor the Area: Continue to monitor the area after removing the blind to ensure that the birds are not disturbed. Setting up a backyard bird feeding station that actually works year-round can help them recover their routine.
Setting up a bird photography blind is a rewarding experience that can help you capture stunning images of birds in their natural habitat. By following these tips, you can increase your chances of success and minimize your impact on the environment. Remember to be patient, respectful, and always prioritize the well-being of the birds. And of course, make sure those binoculars are clean! How to Clean Binoculars Without Scratching the Lens Coatings is a crucial skill for any birder.