

Robert Hale · Founder & Field Editor, BirdLedger
Former naturalist guide and lifelong birder from Vermont. Robert has spent two decades in the field—from boreal bogs to Gulf Coast shorelines—and built BirdLedger to help birders make smarter gear decisions.
How To Build a Bird Bath
By Robert Hale · Founder & Field Editor, BirdLedger
Published May 28, 2026
BirdLedger is reader-supported. When you buy through links on our site, we may earn an affiliate commission. This helps us fund our independent testing and reviews, so we can keep recommending only the gear we’d buy ourselves.
How To Build a Bird Bath
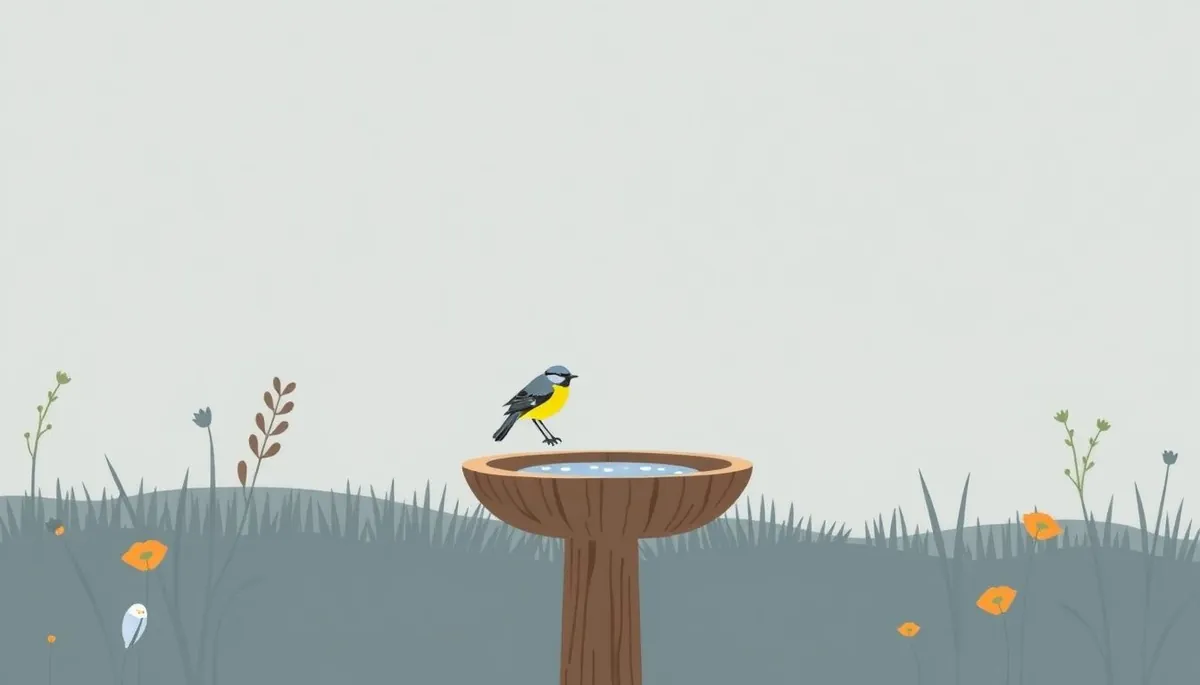
Attracting more birds to your backyard is often about offering what they need: food, shelter, and water. While feeders address the food part, a bird bath provides a crucial water source, especially during hot summer months or freezing winters. But instead of buying a pre-made bird bath, why not build your own? It’s a rewarding project that allows for customization, can save you money, and adds a personal touch to your birding haven. This guide provides a step-by-step approach to building a bird bath that’s both functional and attractive to your feathered friends.
Choosing the Right Design and Materials
Before you start hammering and sawing, consider the design and materials for your bird bath. There are several options, each with its own pros and cons:
Basic Dish Bird Bath
This is the simplest design, consisting of a shallow dish placed on a pedestal or directly on the ground.
- Pros: Easy to build, inexpensive, can be made from repurposed materials like large plant saucers or shallow bowls.
- Cons: Can be easily tipped over, may require frequent refilling due to evaporation, and offers limited perching space.
Multi-Tiered Bird Bath
This design features multiple dishes at different heights, providing various depths for birds of different sizes.
- Pros: Visually appealing, caters to a wider range of bird species, and can be a striking focal point in your garden.
- Cons: More complex to build, requires more materials, and can be more challenging to clean.
Rock Bird Bath
Utilizing natural rocks and stones to create a shallow pool of water, this option blends seamlessly into a natural landscape.
- Pros: Naturalistic appearance, durable, and can be very low-maintenance.
- Cons: Requires sourcing suitable rocks, may be difficult to clean thoroughly, and might not hold water as effectively as other designs.
Material Choice:
- Concrete: Durable, holds water well, and can be molded into various shapes. Consider a concrete mixing kit for a more professional finish.
- Terracotta: Affordable, readily available, but can be prone to cracking in freezing temperatures. Seal the terracotta with a waterproof sealant to extend its lifespan.
- Stone: Natural, durable, and aesthetically pleasing. Requires careful selection to ensure a smooth, shallow surface.
- Repurposed Materials: Old dishes, large plant saucers, or even discarded tires can be repurposed into bird baths. This is a budget-friendly and eco-conscious option.
Important Considerations:
- Depth: The ideal depth for a bird bath is 1-3 inches. Too deep and smaller birds may struggle to use it.
- Surface Texture: A slightly rough surface provides better grip for birds and prevents them from slipping. Avoid overly smooth or slippery materials.
- Drainage: Ensure the bird bath has a slight slope to allow for easy cleaning and drainage.
Step-by-Step Guide: Building a Simple Dish Bird Bath
This guide focuses on building a basic dish bird bath using a large plant saucer and a sturdy pedestal.
Materials:
- Large plant saucer (at least 18 inches in diameter)
- Pedestal (can be a large flower pot, a stack of bricks, or a decorative stand)
- Gravel or pebbles
- Waterproof sealant (optional)
Tools:
- Gloves
- Level
Instructions:
- Prepare the Pedestal: Choose a level location in your yard for your bird bath. Place the pedestal on the ground and ensure it’s stable. Use a level to check for any tilting and adjust as needed. The height of the pedestal should be between 2-3 feet to prevent ground predators from easily accessing the bird bath. Consider the principles discussed in “How High Should You Hang a Bird Feeder? (Height, Placement, and Window)” for placement advice.
- Prepare the Dish: If using a terracotta saucer, apply a waterproof sealant to the inside to prevent water from seeping through and causing cracks. Let the sealant dry completely according to the manufacturer’s instructions. This step is less critical if using a plastic or concrete saucer.
- Place the Dish: Carefully place the saucer on top of the pedestal, ensuring it’s centered and stable. Check the level again and make any necessary adjustments.
- Add Gravel or Pebbles: Scatter a layer of gravel or pebbles in the bottom of the saucer. This provides a shallower area for smaller birds to bathe and drink, and also helps to prevent them from slipping. Aim for about 1/2 inch of gravel coverage.
- Fill with Water: Slowly fill the saucer with clean water, leaving about 1 inch of space from the rim.
- Monitor and Maintain: Regularly check the water level and refill as needed. Clean the bird bath at least once a week to prevent algae growth and the spread of diseases.
Enhancing Your Bird Bath to Attract More Birds
Building a bird bath is just the first step. Here are some tips to make it even more appealing to your feathered visitors:
Adding Movement
Birds are attracted to the sound of moving water. Consider adding a small solar-powered fountain, a dripper, or a mister to your bird bath. These additions not only attract more birds but also help to keep the water fresh and clean. Many simple solar fountains are available for under $30 and require no electrical wiring.
Providing Perches
Ensure there are plenty of perches near the bird bath. This could be a nearby tree branch, a shrub, or even a decorative rock placed at the edge of the dish. Birds need a place to preen and dry off after bathing.
Placement Matters
Place your bird bath in a location that’s easily visible to birds but also offers some protection from predators. Avoid placing it directly under a bird feeder, as this can lead to contamination of the water with bird droppings. A location near shrubs or trees provides cover for birds to escape if threatened. Refer to the advice on setting up feeding stations in “How to Set Up a Backyard Bird Feeding Station That Actually Works Year-Round”.
Keeping it Clean
Regular cleaning is essential to prevent the spread of diseases among birds. Clean your bird bath at least once a week with a stiff brush and a solution of 1 part bleach to 9 parts water. Rinse thoroughly before refilling. Consider buying a dedicated bird bath cleaning brush to avoid contaminating household cleaning tools. For more on this topic, see: “How to Keep Mold Out of Your Bird Feeder Without Harsh Chemicals.”
Winterizing Your Bird Bath
In colder climates, it’s important to take steps to prevent your bird bath from freezing.
- Use a Bird Bath Heater: Submersible bird bath heaters are designed to keep the water from freezing without harming the birds. Look for models with automatic shut-off to prevent overheating.
- Choose a Deeper Bird Bath: Deeper bird baths are less likely to freeze solid than shallow ones.
- Add a Floating Object: Placing a floating object, such as a small ball, in the bird bath can help to prevent it from freezing completely. The movement of the object can help to break up ice formation.
- Empty and Store: If you don’t want to use a heater, you can simply empty the bird bath and store it indoors during the winter months.
By following these tips, you can create a bird bath that’s not only functional and attractive but also a safe and enjoyable haven for your feathered friends year-round. Remember to check pricing on bird bath heaters at Amazon, B&H, and Optics Planet to ensure you’re getting the best deal. Watch for price spikes above 15% of the 90-day baseline.