
Best Practices for Setting Up a Backyard Bird Photography Blind

By Robert Hale · Senior Editor
Published January 1, 2026 · Last reviewed May 12, 2026
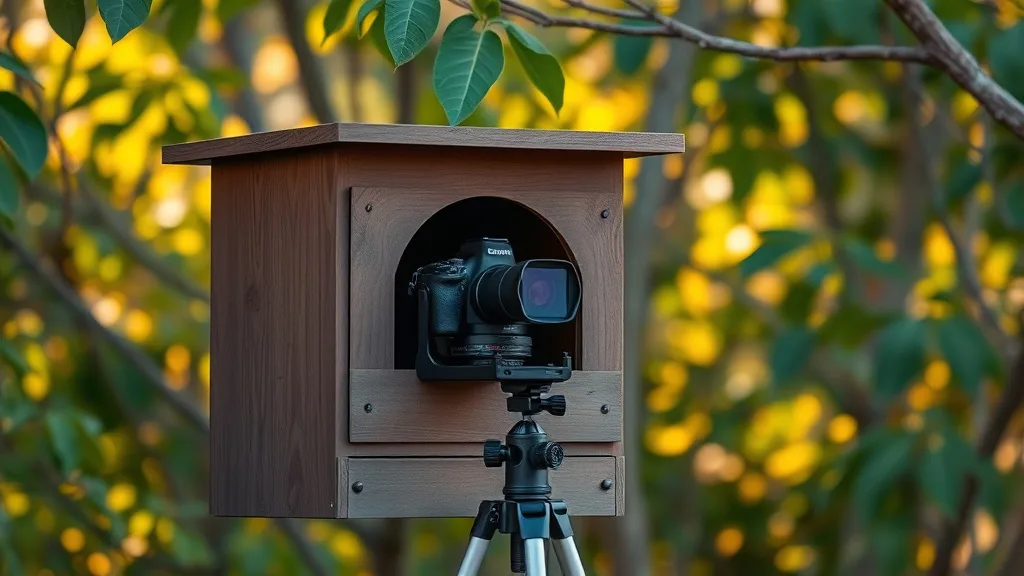
Setting up a backyard bird photography blind can be a game-changer for capturing natural, candid bird behavior. But many birders struggle with where to place it, how to design it for comfort, and how to minimize disturbance to birds. This guide breaks down best practices that balance your photography goals with ethical birding, so you can get great shots without chasing birds away.
What Is a Backyard Bird Photography Blind?
A bird photography blind is a concealed shelter that allows you to observe and photograph birds up close without startling them. Unlike a casual photo setup, a blind provides a controlled environment that hides your movement and presence. This encourages birds to behave naturally, giving you better photo opportunities, especially with shy or wary species.
See also: How to Photograph Shy Backyard Birds Without Disturbing Them
How Do Bird Photography Blinds Work?
Blinds work by breaking the line of sight between you and the birds while you remain relatively still and quiet inside. They often use natural-looking camouflage or neutral colors to blend into the environment. Some setups are permanent structures, like wooden huts or pop-up tents, while others are portable. Optics such as binoculars or spotting scopes are used to locate and track birds before bringing your camera to bear.
The key features for effectiveness are:
- Proper sightlines to bird feeders, perches, or water sources
- Concealment of movement and human shape
- Noise reduction through materials and setup
- Comfort to remain inside for long sessions without shifting
When to Use a Backyard Bird Photography Blind
- Photographing shy or easily spooked species
- Capturing natural behavior that requires bird comfort at close range
- Shooting during dawn and dusk when light is low and birds are active
- Conducting extended observation sessions for behavior study or identification
Blinds help improve optics usability by allowing steady hold and reducing sudden movements that spook birds. They’re particularly useful in residential or suburban yards where birds are habituated but still cautious.
Best Practices for Setting Up Your Bird Photography Blind
Here are key steps and considerations to get the most from your bird photography blind:
1. Choose the Right Location
Pick a spot in your yard with existing bird activity or where you can place feeders, perches, or water dishes. Ideally, choose:
- An area with good light, minimizing harsh shadows
- Near natural cover like shrubs or trees to encourage birds
- Away from foot traffic or noisy spots to reduce disturbance
- With a clear but concealed line of sight to feeding or perching areas
Test your optics from the blind site to confirm visual range and angles.
2. Select the Blind Type
Consider your priorities and yard layout for choosing:
| Blind Type | Pros | Cons | Best Use Case |
|---|---|---|---|
| Pop-up Tent | Portable, quick setup, lightweight | Less insulation, less durable | Temporary use, varied locations |
| Camouflage Panels | Effective concealment, durable | Larger footprint, less portable | Permanent blind near feeding stations |
| Natural Cover | Blends into landscape well | Limited size, less control | Small yards, minimal disturbance |
| DIY Wooden Hut | Customizable, stable | Requires building skills | Long-term use, heavy-duty protection |
3. Use Camouflage Wisely
Match colors and patterns to your yard’s natural environment—earth tones, muted greens, browns. Avoid shiny or brightly colored materials. Cover equipment and yourself with similar tones using jackets or covers and keep movement slow and minimal. The more your setup blends in visually, the less stressed birds will feel.
4. Maintain Low-Light Usability
Early mornings and late evenings offer the best bird activity but challenge your optics and camera. To improve low-light usability inside a blind:
- Choose materials that allow adjustable openings or windows to maximize ambient light
- Position the blind so the sun illuminates the birds without shining into your optics
- Use high-quality optics with wide apertures for brighter images
- Avoid using flash to prevent bird disturbance
5. Ensure Weather Resistance and Comfort
A blind is only as good as your ability to stay in it quietly and comfortably. Consider:
- Waterproof or water-resistant materials for rainy conditions
- Ventilation to prevent condensation on lenses and improve comfort
- Seating options that stabilize your camera and keep you still
- Temperature considerations: sun shades or insulated blinds for extremes
6. Stick to Ethical Birding Practices
Setting up a blind requires respect for your feathered subjects:
- Avoid flushing birds repeatedly with setup or movement
- Skip playback sounds; these can stress and disorient birds, especially in breeding seasons
- Keep feeders clean to avoid disease spread
- Observe local regulations about attracting wildlife
Prioritize bird welfare above photography ambitions.
Common Pitfalls to Avoid
- Overcrowding the blind: Avoid placing yourself and equipment too tightly, which increases rustling and scent.
- Poor sightlines: A blind that doesn’t face the active bird area wastes your effort.
- Ignoring wind direction: Position your blind downwind if possible to reduce scent detection.
- Using bright or reflective materials: Anything shiny can spook birds instantly.
- Setting up in inconsistent areas: Frequent changes in setup can confuse birds and reduce trust.
Summary Comparison Table of Key Setup Features
| Feature | Ideal Setup | Common Mistakes | Effect on Birding Experience |
|---|---|---|---|
| Location | Near feeders, natural cover, away from noise | In open or high-traffic areas | Closer, more relaxed birds; better photo chances |
| Camouflage | Earth tones matching surroundings | Bright or unnatural materials | Less disturbance; more natural bird behavior |
| Light Management | Adjustable openings; positioned for best illumination | Blocking too much natural light | Sharper, clearer images in low light |
| Comfort & Stability | Proper seating and weather shielding | Unstable seating or no protection | Longer, more productive sessions |
| Ethical Birding | No playback; minimize disturbance | Using calls or chasing birds | Maintains bird welfare and trust over time |
Frequently Asked Questions
Q: How close can I get to birds using a backyard photography blind?
A: Depending on the species and your setup, blinds can let you get as close as 5–10 feet without disturbance. Less wary backyard birds may approach feeders or water nearer.
Q: Can I use playback sounds with a bird photography blind?
A: It’s best avoided to prevent stressing birds. Blinds work by concealment, patience, and natural attraction methods, not playback calls.
Q: What optics are best for use inside a blind?
A: Binoculars and spotting scopes with wide apertures and good low-light capability perform well. For camera lenses, telephoto zooms around 300–600mm are common.
With the right location, thoughtful setup, and ethical approach, your backyard bird photography blind can become a serene hideout for both you and your avian friends—offering rich opportunities for rewarding photography and observation.


